For a finished 10 1/2 inch Pinwheel block, cut two 6 1/8 inch squares of each color. For a finished 12 inch Pinwheel block, cut two 6 7/8 inch squares of each color. For a finished 15 inch Pinwheel block, cut two 8 3/8 inch squares of each color.
How to create a pinwheel?
Start with a square sheet of paper. You can use any size of paper you want, but something around 6 inches (15.24…
Trace four diagonal lines from the corners of the square toward the center. Place a ruler on the paper so that it… Cut partway across each line. Stop when you are ½ to 1 inch (1.27 to 2.54 centimeters)… How to make pinwheels-with free printable template?
Print the Pinwheel Template onto the paper of your choice.
Cut along the four dotted lines. Pull the right corner (or left; it doesn’t really matter as long as you use the same corner each time) of each side to the center,but don’t crease the How to make pinwheels quilt?
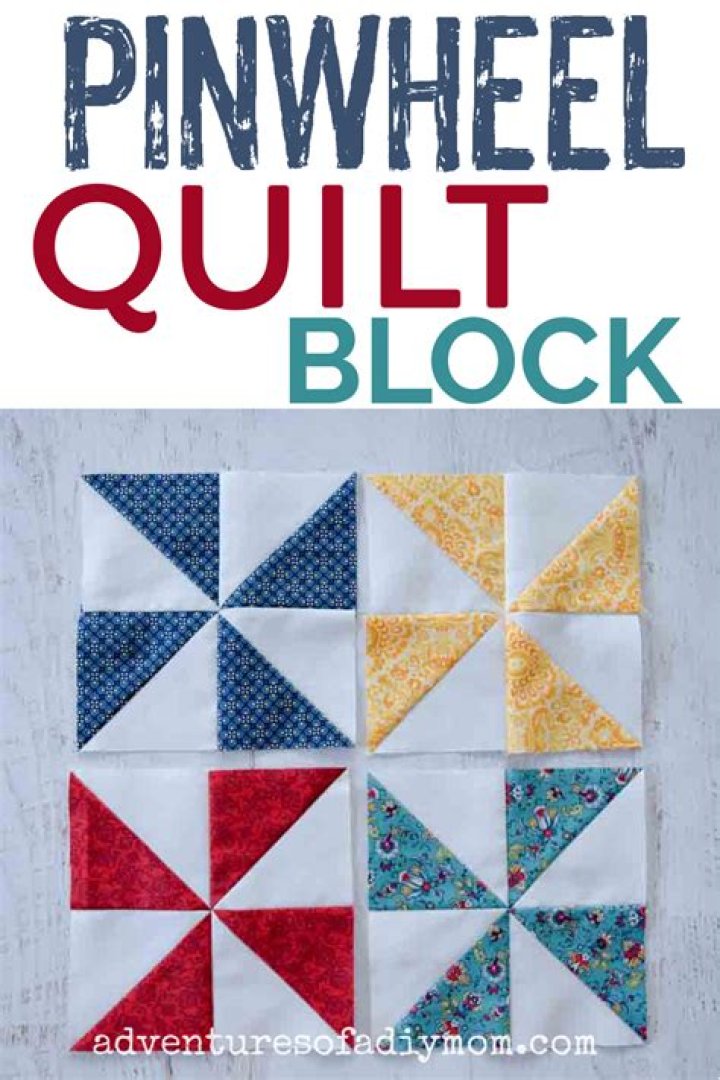
Step 1 Cut Fabric for HST Units
N ( Note: Oversized squares are used to make the HSTs, which are trimmed to size.) N Half… Step 2 Make Half Square Triangles How to make a 3D pinwheel quilt block?
Place your four background fabrics face up on a flat surface.
Take your four pinwheel squares and fold them in half diagonally,right sides out. Place your triangles on top of your background fabric,then take one of the points and fold it into the corner of the triangle as pictured below. Pin in place: Sew the folded triangles into place approximately 1/8″ from the edge of the fabric. Repeat for all four,taking care that you are sewing each folded triangle the same direction as each other. Take two of your units and sew them together using a 1/4″ seam allowance. Your previous stitches will be caught within the seam so it won’t show. Repeat for your other row. You’ll end up with two pairs like this: You’ll want to carefully iron your seams,either opening them up to make them flat,or pressing to one side. After sewing,press one more time and enjoy your new 3D pinwheel block!